Ledger.com/start is the official onboarding page designed to help users securely set up their Ledger hardware wallet for the first time. Whether you are new to cryptocurrency or transitioning from an online wallet or exchange, this setup process ensures your digital assets are protected using industry-leading security practices. This guide explains the purpose of Ledger.com/start, how the setup works, and what steps users should follow to safely begin managing their crypto.
Ledger.com/start is the dedicated starting point for initializing Ledger hardware wallets such as Ledger Nano S Plus, Ledger Nano X, and Ledger Stax. The page provides official instructions and tools needed to install the Ledger Live application, configure the hardware device, update firmware, and create or restore a wallet.
Unlike software wallets that store private keys online, Ledger hardware wallets keep private keys offline inside a secure chip. Ledger.com/start ensures that users follow a verified and secure setup process so their wallet is protected from the very beginning.
Using the official Ledger.com/start page is critical for security. Cryptocurrency scams often rely on fake setup guides or malicious software designed to steal recovery phrases. By starting with the official setup flow, users reduce the risk of:
Ledger.com/start ensures that the wallet setup follows Ledger’s security standards and that all software used is authentic.
Before beginning the setup process, make sure you have the following:
Avoid public computers or shared networks during setup, as privacy and focus are essential when handling sensitive information.
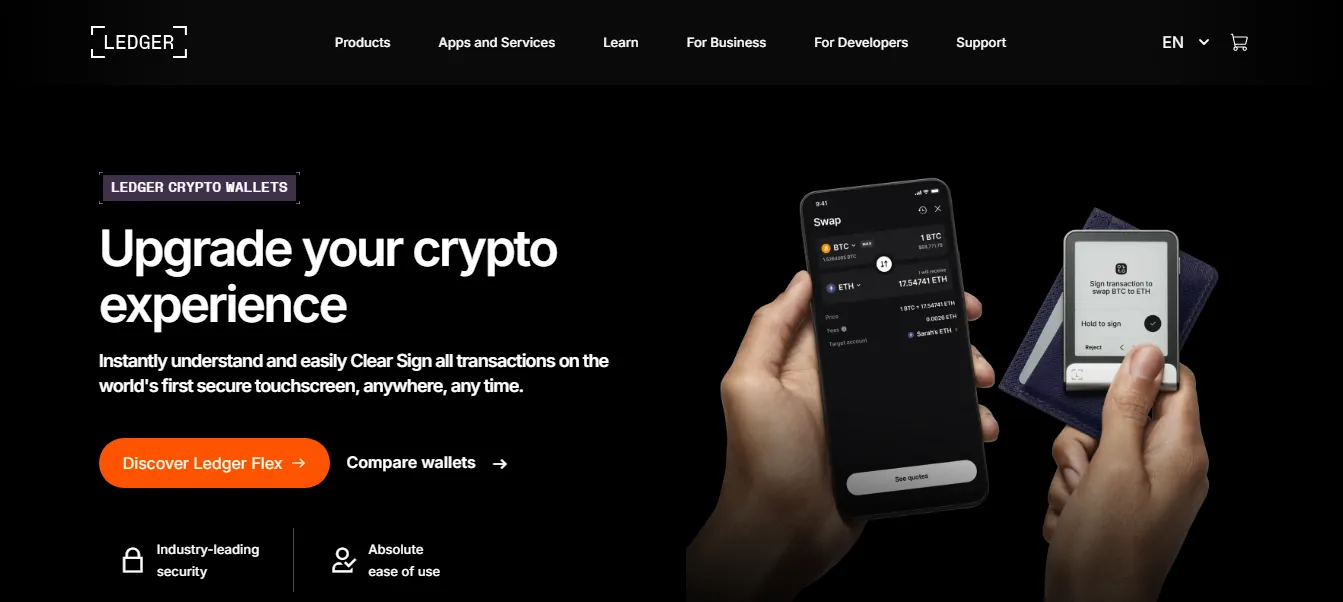
The first step on Ledger.com/start is installing Ledger Live, the official application used to manage your Ledger device. Ledger Live acts as the interface between your hardware wallet and the blockchain networks. It allows you to view balances, install apps, and initiate transactions while keeping private keys offline.
Once installed, open Ledger Live and choose the option to set up a new device or restore an existing one.
Connect your Ledger hardware wallet to your computer or mobile device using the USB cable or Bluetooth (for supported models). When powered on, the device will prompt you to create a PIN code.
This PIN protects the device from unauthorized physical access. Choose a strong PIN and memorize it. Repeated incorrect PIN attempts will lock or reset the device for safety.
During setup, Ledger Live may prompt you to install or update the device firmware. Firmware updates improve security, fix bugs, and add support for new features or assets. Always complete firmware updates through Ledger Live to ensure authenticity.
After firmware setup, you will be prompted to create a new wallet. The Ledger device will generate a 24-word recovery phrase, also known as a seed phrase.
This recovery phrase is the most important part of your wallet:
Write the words down carefully in the correct order and store them offline in a secure location. Do not take photos, save them digitally, or share them with anyone.
The device will ask you to confirm the phrase to ensure it was written correctly.
Once your wallet is created, Ledger Live allows you to install blockchain apps on your device, such as Bitcoin or Ethereum apps. These apps enable support for specific cryptocurrencies.
After installing apps, you can add accounts in Ledger Live and begin receiving or sending crypto. All transactions must be physically approved on the Ledger device.
Ledger.com/start introduces users to several core security principles:
These features protect users even if their computer or phone is compromised.
During setup and after using Ledger.com/start, users should avoid:
Security depends not only on the device, but also on user habits.
After completing the setup, users can:
Ledger Live provides an easy-to-use dashboard while maintaining the security of cold storage.
Ledger.com/start is the essential gateway to securely setting up a Ledger hardware wallet. It guides users through installing official software, creating a wallet, backing up recovery information, and preparing the device for safe crypto management. By following the official setup process and maintaining good security practices, users gain full control over their digital assets without relying on third parties.
Using Ledger.com/start ensures that your journey into self-custody begins with strong security, clear instructions, and confidence in knowing your cryptocurrency is protected from both online and physical threats.